Thursday, July 19, 2012

School Spirit

 One of the interesting parts of being the art teacher is that many people will come to you with a wide variety of art needs. One fun thing I did this year was to repaint our school's spirit stick Our school mascot is a viking so late one night I tried to create a viking/celtic vibe with our school colors of purple and gold.


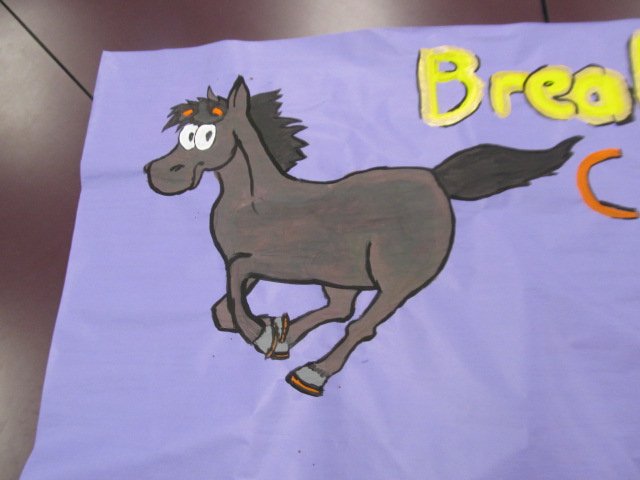
Another fun project was actually one my students did for a pep rally. This was a cool poster the freshman made for the class poster competition, which they won :) 


Comic Strip

Art II Project

This was a fun project I did with my students involving comic strips. For this assignment we studied Chuck Jones, the inventor of the Looney Tunes, and we spent a lot of time drawing and developing cartoon characters. The end result was one comic strip from each student. We even had a little competition  to see whose comic strip would be put into the school newspaper. 

Materials:
  • Large drawing paper
  • Pencils
  • Rulers
  • Ink Pen
  • Colored Pencils
Procedures:
  1. The first step is to develop characters and layout in sketches, as well as, an actual joke.
  2. Once the students have settled on a layout then they have to measure out the boxes for their comic strip with their rulers. The size of our comic strips was pretty large.
  3. The first frame in the strip needs to be some sort of title.
  4. Everything is penciled in first.
  5. Then go over everything with a  quality ink pen
  6. Lastly, I let my student choose whether or not they wanted color. If they choose color then we used colored pencils to fill in the rest.


Tuesday, July 17, 2012

Google Drawings

Doodle 4 Google

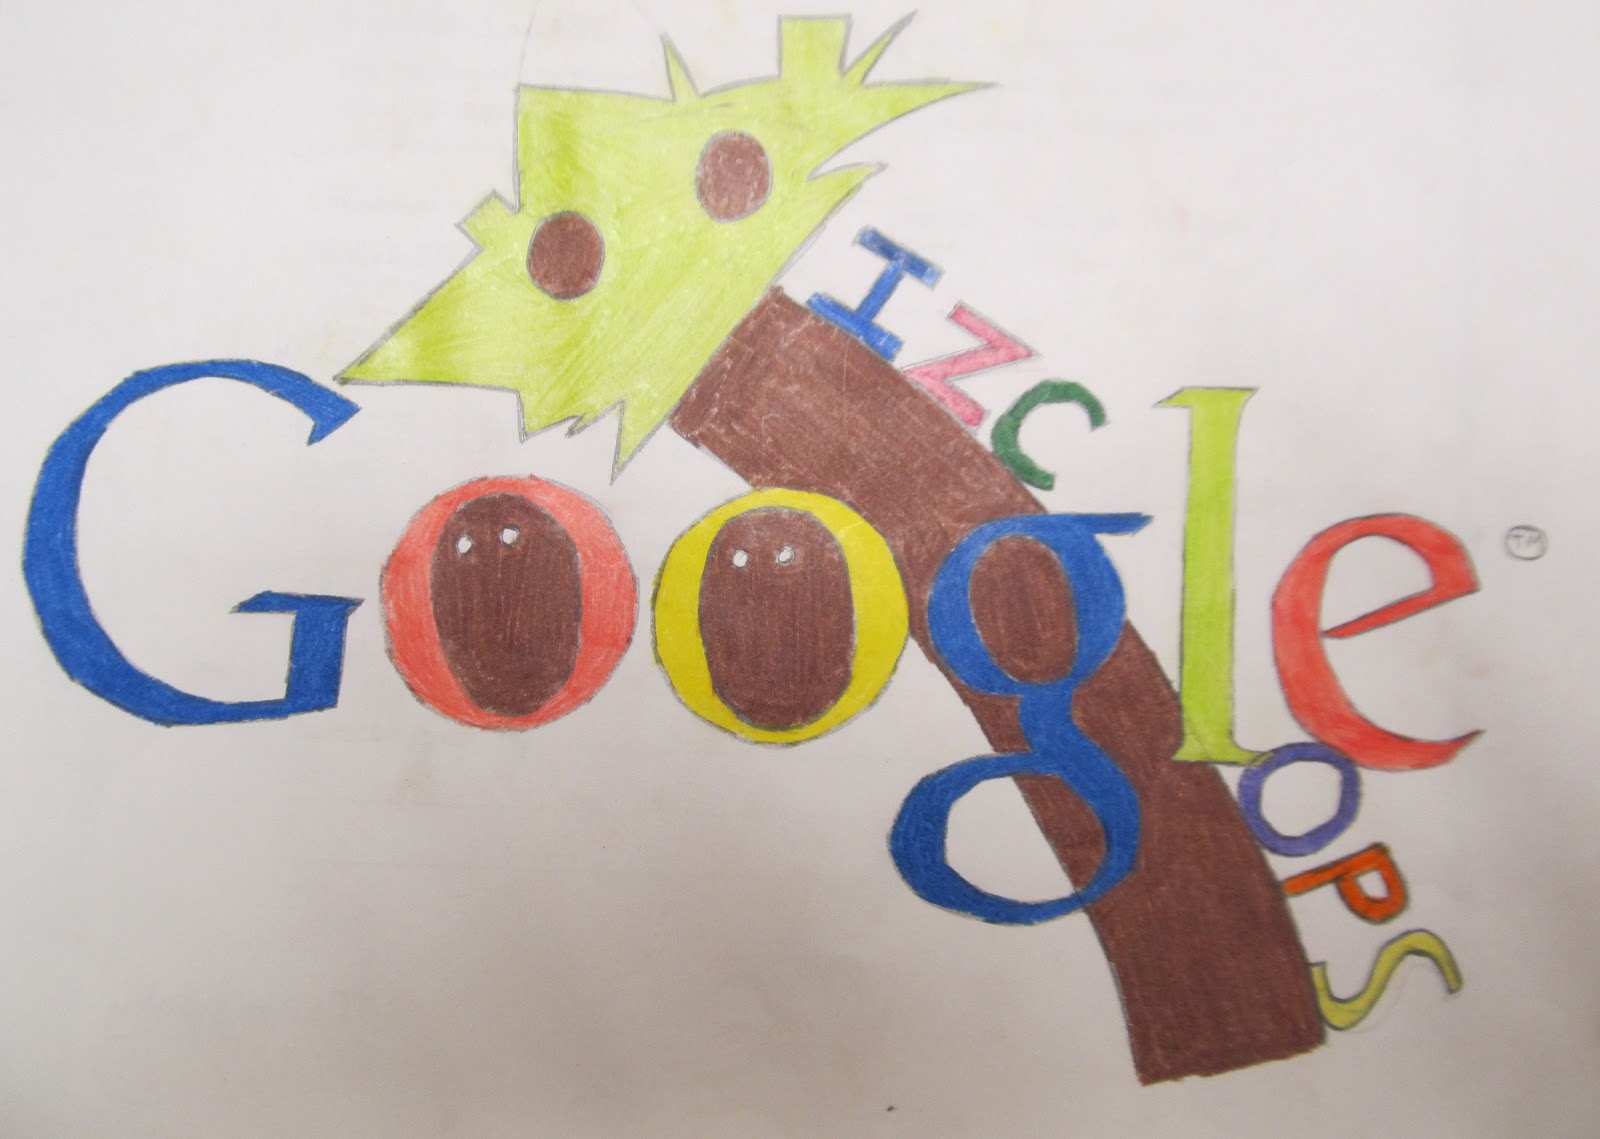
Every year Google holds a drawing competition for all ages of students. Each year there is a different theme that students must take the Google logo and redesign it around. There are a lot of awesome prizes given out to the winners. Unfortunately I did not find this competition until after the deadline last year. Either way, I thought it was a great idea for a project so I went ahead and came up with my own theme and taught my students some of the basics of graphic design. Trying to sum up graphic design in one lesson was not easy but it turned out to be a fun lesson in which we looked at logos and symbols that we see on a daily basis. The assignment I gave the students was to redesign the Google logo based on the theme of their favorite children's book or novel. I gave them a Google template for the ones who needed it we used colored pencils to do the drawings.

This is a link to the Doodle 4 Google site. http://www.google.com/doodle4google/

Materials:

  • Drawing paper
  • pencils
  • colored pencils
  • Google logo template


Zentangle

Art I project

In this project I introduced the students to zentangles. The basic idea is simple. A Zentangle is designed to increase focus and creativity. Instead of planning out everything with sketches and rough drafts, students have to focus on random drawings that deal with pattern designs. It's lots of fun. Some students will find it difficult to focus on a repetitive drawing but others will become so absorbed in their drawing that the whole room will fall silent. There are lots of websites with Zentangle patterns. http://www.zentangle.com/ This is the official zentangle website

Materials:

  • Drawing paper
  • ink pens
Process:

  1. First, put a dot in each corner. Then draw a line to connect each corner and form the edges of the Zentangle. The rule is that you can not use any rulers because that's not what Zentangles are all about. So, it doesn't matter if the edge is straight or wavy.
  2. Next, divide the space up into sections by drawing random lines across the paper. 
  3. Inside the sections begin drawing random patterns and designs. 

My Example


Student Examples


Clay Creatures

Art I Clay Project

For this project my students studied medieval art. We explored Medieval bestiaries and some of the mythical medieval creatures that appeared in them. Then we compared that to the fictional creatures created for movies. I played a YouTube video of a model monster being sculpted for the students to understand the process a bit better. The assignment was for the students to create their own clay creature of their own design. Their creatures had to be completely original and be able to stand on its own without falling over. It also had to have arms and legs of some form.


Materials:

  • Clay
  • A variety of clay tools
  • water
  • paper towels
  • plastic bags to store the clay projects in while they are still in progress
  • A kiln
  • acrylic paint


Student Examples


Self Portraits

Art II Self Portrait Project

For this assignment we studied Rembrandt and his use of chiaroscuro. Students had to use the grid technique to create a self portrait with high contrast.

Materials:
  • Drawing paper
  • rulers
  • camera and photograph
  • drawing pencils and erasers
Procedures:
  1. To start you will need a camera to take the student's photographs. I hung up a black cloth on the white board and put a lamp right next to it to create a spotlight. I had the students come up one at a time to take their picture. That night I edited the pictures on my computer and printed off a 4 x 6 black and white photograph for each student. 
  2. The students began by griding their photograph and then creating a corresponding larger grid on their drawing paper.
  3. Next the students drew their portraits with pencils.


Student Examples


End of the Year Magazine Bowls

At the end of the year things move quickly. With all the testing, field trips and graduation it's good to have some projects that students can pick up easily wherever they left off after field trips and such. The last project I did with my students at the end of the year was  a magazine bowl. Its great because the librarian usually gets rid of old magazines at the end of the year and I stock up for this project and other things for the next year. This is a good opportunity to introduce the students to recycled art and alternative media.

Materials:

  • Magazines
  • Elmer's glue in glue bottles
  • Mod Podge and paint brushes
Procedures:
  1. Before beginning the project I took the magazines and cut them up with a large paper cutter. I just cut the pages in half long ways and left stacks of magazines on each student's desk.
  2. I took the students through the steps of folding the strips of paper first. Take a strip of paper and fold it in half hot dog style. Open the paper, and  fold each side into the middle so that the edges line up with the center line. Repeat that step again and then fold it in half. Now you'll have a neatly folded paper with an open end and a closed in, sort of like a tepee shape.
  3. This webpage gives fairly descent photos. http://pradaforbreakfast.wordpress.com/2010/09/03/diy-fun-magazine-bowls/
  4. To start the actual bowl you start with the base. The shape of the bowl is determined by the shape of the base. The simplest shape is a circle, but you can do almost any shape if you get creative enough. We managed to create heart shapes, circle, square, tear drop and star shape. If you do the star shape you might need paper clips to hold the paper in place while its drying.
  5. If you are doing a simple round bowl the start by putting Elmer's glue along one side of a strip of folded paper. Then begin to tightly coil the paper around and around. It looks best to have the closed side of the paper pointing upward throughout the whole process.Once you get to the end of one piece just get another piece of magazine and continue where the last one ended.
  6. Once you have your base created, its time to do the sides.  To create the walls of the bowl is the same as creating the base except you allow the paper to stick up just a little bit each time higher than before.
  7. Lastly, once the bowl is complete, have your students do a coat of Mod Podge over the surface of the whole thing to harder it and make it sturdier.